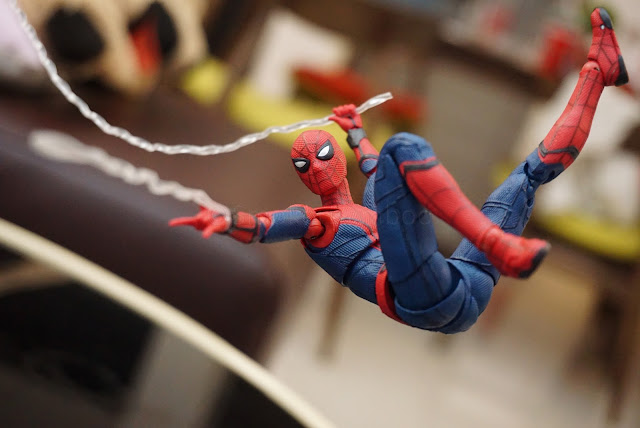
Today I'll share how I create a photo of a swinging Web-Slinger in my house by just applying some of the simple Photoshop tricks.
Step 1
Prepare the necessary tools. You'll need at least the following:
- The subject (in my case, it's my S.H.F. Spider-Man)
- A supporting stand to fix your subject in place
- A camera
- A tripod
 |
| Preparation & Setup |
Step 2
With the camera fixed in position, take 2 photos:
First one with the subject:
And second one without the subject, i..e the background:
My advice is, before you take the second picture, first focus on your subject, then remove the subject before clicking the snap-button. This will ensure the same amount of bokeh in the background and save you a lot of troubles later on when you want to have a consistent background to work on.
Step 3
Load the 2 photos into Photoshop, with the first photo on top of the second photo:
Step 4
Create layer mask for the first photo:
In case you're unfamiliar with Layer Mask, I've talked about it HERE.
In case you're unfamiliar with Layer Mask, I've talked about it HERE.


