

All this while I've been extracting image in Photoshop using image extraction tools like Layer Mask, Magic Wand etc. I couldn't be bothered to set up a proper background like green screen or blue screen and use the tool in Photoshop to remove the background.
But recently I found that it is much faster and easier to extract image using green screen and Color Range tool in Photoshop, and that is what I'm gonna share today.
Step 1
Firstly, set up your own mini green screen background, similar to this:
The green screen I used is actually the 2 color boards I bought from Popular bookstore. Each of it only cost me MYR 3.50. Not a bad deal for this simple green screen backdrop :D
Step 2
Took the photos of your subject (which in my case, is SHF Kamen Rider Ryuga):
Step 3
Open the image(s) in Photoshop.Go to Select > Color Range... to bring up the Color Range window:


This Color Range tool is the main tool we're gonna use for this image extraction. The function this tool is to select the area in the image based on the color (or same color with different tone) you selected. It is very useful especially when we're using a green screen because we can select (and remove) a big chunk of area with just a few clicks.
Step 4
In the Color Range window, select the "Add to Sample" eyedropper tool instead of the default Eyedropper Tool,
then click and drag around the green screen area until the green screen in your preview window became white color like this:

The preview window works exactly like the Layer Mask I discussed in my previous tutorial. Areas selected using this Color Range tool will appear as white color, while the area not selected will appear in black. In my picture above, I've selected the green screen backdrop area, leaving the Ryuga unselected.
Actually you can play with the Fuzziness option to refine your selection, but we'll skip that one here. When you're happy with the selection, click OK. Your selection will appeared as the marching ants around it:

Step 5
With the selection still on, apply Layer Mask on the image by clicking the Add layer mask button. You'll see that the green screen is not removed, but the subject (Ryuga) is gone instead.
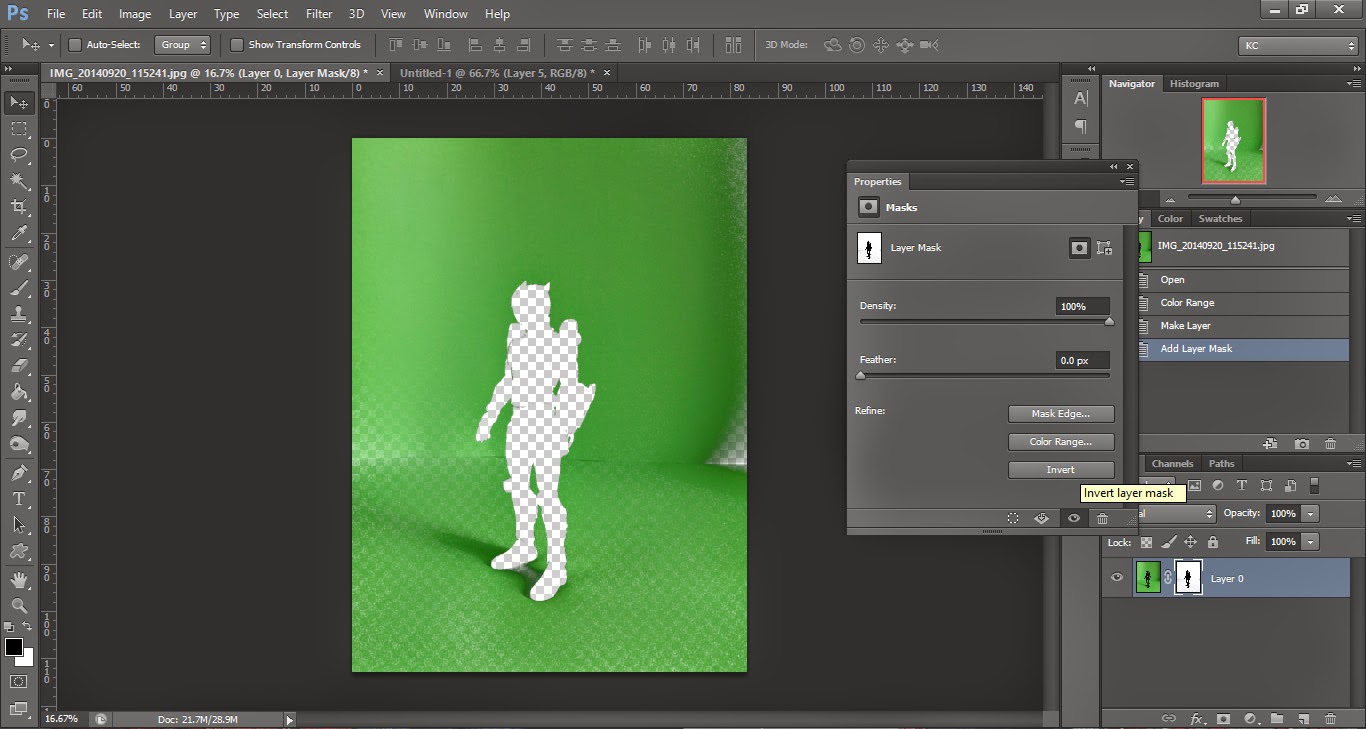
And Ta-da! You've successfully removed the green screen background.

Now, it's still too early to call it a day. If you place a black background below the layers, you'll find that there are a few things need to be fixed:

Step 6
Part of green screen not removed
First, we'll fix the green screen part which we failed to remove.If you already familiar with Layer Mask, it's very simple to fix this: Simply click on the Layer Mask, and paint BLACK on those parts in order to "hide" them.
Greenish reflection
Next, we'll remove the greenish reflection on the figure.This is the drawback of using a green/blue screen, but it's easy to fix. Go to Layer > New Adjustment Layer > Hue/Saturation... to apply an Hue/Saturation Layer Mask on top of the image.
In the Layer Mask Properties box, change the color from Master to Green, and lower the saturation all the way down to -100:


Now the greenish reflection is gone for good :D

Obvious outline
Last but not least, we'll remove the obvious outline around the extracted image.With the selection on the Layer Mask of the image, go to Filter > Other > Minimum...

A Minimum window will pop out. Change the Radius to 2 pixels, and click OK.

What the Minimum tool does is it reduces the edges of our subject (in this case it is the Layer Mask because we selected it before applying Minimum) by the amount of pixels we entered. So, by reducing 2 pixels around the Layer Mask, we successfully removed the obvious outline around the figure.
Step 7
Drag the extracted image onto a new background and start to work on the other parts:


Final Product

And that's it. Hope you enjoy my tutorial :D
